Impex SM-3000 Bedienungshandbuch
Stöbern Sie online oder laden Sie Bedienungshandbuch nach Fitness, Gymnastik & Krafttraining Impex SM-3000 herunter. Impex SM-3000 Owner's Manual Benutzerhandbuch
- Seite / 23
- Inhaltsverzeichnis
- LESEZEICHEN
- POWERHOUSE 1
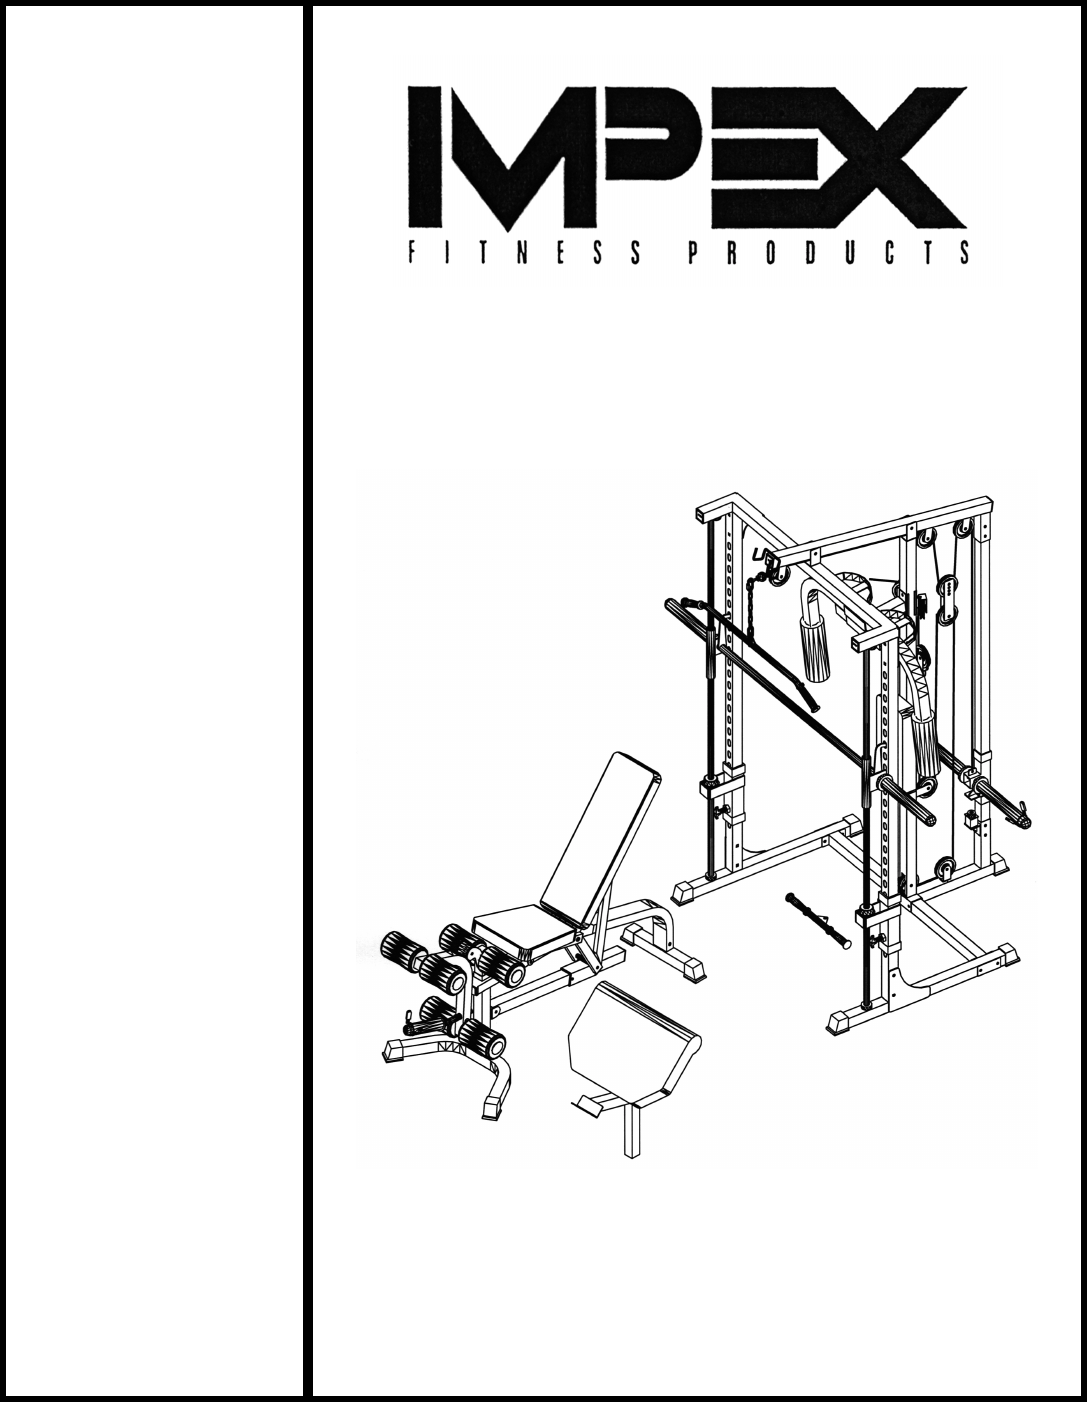
- SMITH MACHINE 1
- SM 3000 1
- 1-800-999-8899 2
- IMPORTANT SAFETY NOTICE 3
- DIAGRAM 3 7
- DIAGRAM 4 8
- DIAGRAM 4DIAGRAM 4 8
- DIAGRAM 5 9
- DIAGRAM 7 12
- PARTS LIST 14
- DIGRAM 1 15
- DIAGRAM 2 16
- DIAGRAM 3 17
- DIAGRAM 4 18
- DIAGRAM 5 19
- DIAGRAM 6 20
- MULTIPURPOSE BENCH PARTS LIST 22
- IMPEX INC 23
Inhaltsverzeichnis
NOTE: Please read all instructions carefully before using this product Table of Contents Safety Notice Hardware Identifier Assembly Instructi
STEP 6 (See Diagram 6) A.) Attach one end of the 77” Butterfly Cable (#65) to the Right Butterfly Arm. Secure it with a M10 x 1” Allen Bolt (#32), t
STEP 7 (See Diagram 7) A.) Attach the 132” Upper Cable (#25) to the top of the Upper Frame (#21). Make sure the ball on the Cable is underneath
DIAGRAM 7 11
12
PARTS LIST KEY NO. DESCRIPTION Q’ty 1 Left Base Frame 1 51 Butterfly Backrest Boar 1 2 Right Base Frame 1 52 M8 x 2 ½” Allen Bolt 2 3
MULTIPURPOSE BENCH ASSEMBLY INSTRUCTION Tools Required Assembling the Machine: Two Adjustable Wrenches and Allen Wrenches NOTE: It is strongly rec
STEP 2 (See Diagram 2) A.) Attach two Bushings (#23) to each Seat Support Frames (#6). B.) Attach one Backrest Support (#7) to the Seat Support F
STEP 3 (See Diagram 3) A.) Align the holes on the two Backrest Supports (#7) to the pivot on the Sliding Block (#9). Secure them with one M10
STEP 4 (See Diagram 4) A.) Attach the Seat Incline Support Bracket (#8) to the Main Frame (#1). Secure it with one M10 x 4 3/4” Allen Bolt (#34),
STEP 5 (See Diagram 5) A.) Place the Seat Pad (#14) onto the Seat Support Frames (#6). Align the holes and secure it with four M8 x 2” Allen Bolt
TABLE OF CONTENTS BEFORE YOU BEGIN... 1 IMPORTANT SAFETY NOTI
STEP 6 (See Diagram 6) A.) Insert the Leg Developer Holder (#4) into the opening in front of the Seat. Secure it with a Lock Knob underneath the S
MULTIPURPOSE BENCH PARTS LIST KEY NO. DESCRIPTION Q’ty 1 Main Frame 1 2 Front Stabilizer 1 3 Rear Stabilizer 1 4 Leg Developer Holder 1 5 Leg
IMPEX INC. LIMITED WARRANTY IMPEX Inc. ("IMPEX") warrants this product to be free from defects in workmanship and material, under normal u
IMPORTANT SAFETY NOTICE PRECAUTIONS This exercise machine is built for optimum safety. However, certain precautions apply whenever you operate a
SMITH MACHINE ASSEMBLY INSTRUCTION Tools Required Assembling the Machine: Two Adjustable Wrenches and Allen Wrenches NOTE: It is strongly recommend
STEP 2 (See Diagram 2) A.) Slide the Safety Stop Frame (#12) onto the Front Vertical Beam (#9) and Guide Rod (#16) from the top. Drop the Stop Fra
STEP 3 (See Diagram 3) A.) Attach the Lat Bar Frame (#23) to the Lat Bar Base (#10). Secure it with two M10 x 2 ½” Allen Bolts (#22), four ∅ ¾” Wa
STEP 4 (See Diagram 4) A.) Attach the Upper Frame (#21) to the top of the Front Top Beam (#19). Secure it with one M10 x 3” Allen Bolt (#4), two
STEP 5 (See Diagram 5) A.) Attach the Backrest Board (#51) to the Rear Vertical Beam (#8). Secure it with two M8 x 2 ½” Allen Bolts (#52) and ∅
Verwandte Produkte und Handbücher für Fitness, Gymnastik & Krafttraining Impex SM-3000
 (24 Seiten)
© 2020, manymanuals.de. Alle Rechte vorbehalten. | 0.671 s |
 Manymanuals.com
 Manymanuals.de
 Manymanuals.fr
 Manymanuals.it
 Manymanuals.pl
 Manymanuals.cz
 Manymanuals.es
 Manymanuals-pt.com
Kommentare zu diesen Handbüchern